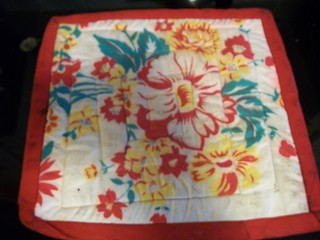
So, I went out and bought the insulated quilt batting and made a test hot-pad that has been working well for a long time. Just a regular square hot-pad, kind of largish and made from a dishtowel that I salvaged from my grandparents' house. That was probably a few years ago.
Today I started working on a project that involved using up the rest of the insulated quilt batting and some of the scraps were just the right size and shape for the (infamous) pot handle cover. I found some appropriate fabric and got going. I even took pictures along the way, like it was going to be a super-good tutorial opportunity. (fah.)
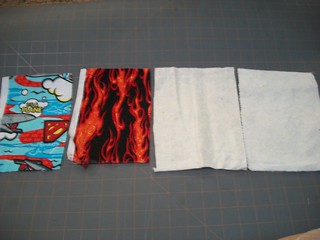
I used the pot handle cover as a template and cut out two pieces of insulbright. Then 4 pieces of regular quilt batting (warm & natural). Then 2 pieces of outside material and 2 pieces of inside material. I stacked them all up and trimmed them to match the insulbrite.
This are the first lessons learned:
- I didn't need to add such a generous seam allowance.
- Since the template is not exactly symmetrical, the fabrics should have been trimmed up with the inside facing fabrics (e.g. superman and 1 quilt batting) face down.
- Also, I probably only needed one layer of quilt batting - to be between the insulbright and your hand.
I finally got to sew after the kids went to bed. I started by putting the layers of fabric together in the assembly order: inside to out is superman, quilt batting, insulbright, quilt batting, flames. Then I quilted them pretty simply with a straight line across, about 1 1/2" apart. Did this to both the handle top and handle bottom piece. Then found some extra-wide, double fold bias tape.
More lessons learned: I forgot that I bought a pack of black bias tape today just for this. So I used brown. Also, I didn't feel like changing what thread was in the machine. These details both contribute to the "homemade not handmade" look of the completed project.
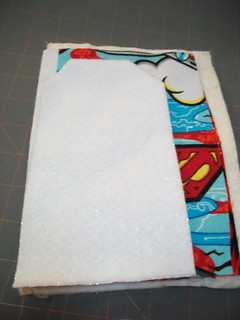
The flat edge is the opening of the shape. I will call this the bottom edge. First I zig-zagged across the bottom edge, then enclosed it with bias tape (also with zig zag stitches because they are more forgiving). I zig-zagged around the edge of the shape.
I put the two pieces together, fire side out and realized that, dude, I had to sew 10 layers of fabric together on my not-industrial machine. I zig-zagged around the shapes to put them together.
Finally, I trimmed around the zig-zag stitch and then applied the bias tape around the shape to give it clean edges. I tucked the raw edge of the bias tape inside at the start and end. It was in this step that I broke a needle.
Lesson learned: For super hi-test sewing efforts, it is worth it to put in a fresh quilting needle.
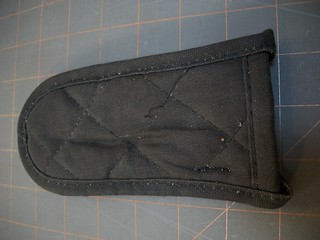
So, this is what we've got at the end (at best - functional but dorky):
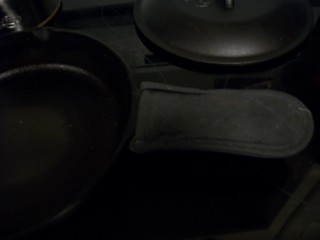 Lesson learned: photographing black cast iron, black pot holder, black stovetop at night with no flash is challenging.
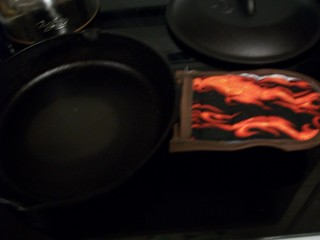 Lesson learned: $7 might be a reasonable price for something that you know will work and look like it was made by a professional.
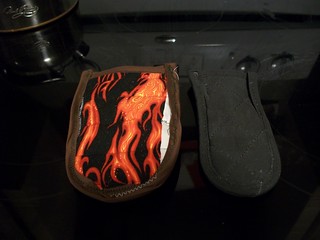 big sigh. Your selvedge is showing.
No comments:
Post a Comment